Help with Magic Wand and Gradient
Page 1 of 1 (3 posts)
Tags:
None
|
Registered Member 
|
I'm still a newbie at art and digital art.
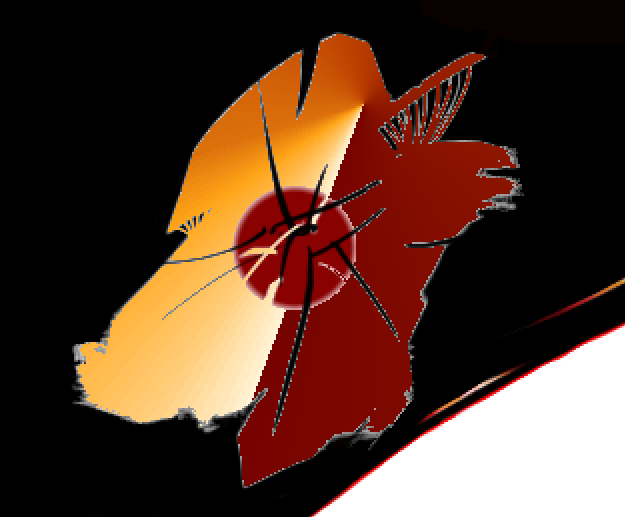
I drew something with white in a black background and used the similar color selection to capture the white part of the image I wanted to use the gradient tool on. The gradient tool(G) is funky and I'm not sure how to use it. Every time I click and drag to use the gradient tool, the two colors are very separated. I see videos of people digitally painting with Photoshop and they could control their gradient. After I used the gradient tool, the image's outside lines are very "pixeled" and I am wondering how to to fix this so I can store this reference later on. Here's the image as you can see: https://i.gyazo.com/019eb4c287766cae676 ... 7132c4.png Any help is appreciated! P.S. I have no idea what the magic wand does. P.P.S. I have no idea what a transparency mask does. P.P.P.S. No idea what either Filter or Selection mask does 
|

Registered Member
|
A common mistake,  That works fine when there is no antialiasing, like when you are using Deluxe Paint. When you repeatedly use the same antialiased outline in the same place or just layer same-shaped layers, the edges become messy. That works fine when there is no antialiasing, like when you are using Deluxe Paint. When you repeatedly use the same antialiased outline in the same place or just layer same-shaped layers, the edges become messy.The classic example is making an anti-aliased circular or freehand selection, filling it with one colour, then another. If you start with a black background, fill a selection with red, then fill it with black, you won't be left with an entirely black image: Instead, you will see traces of red around the outline of the selection shape. A pixel with 70% coverage by the selection will be 70% red and 30% black when you filled the selection with red, then 70% of that darker red colour and 30% black when you filled with black. To composite things like gradients, colour adjustments and other paint layers to the shape (opacity, really) of one layer, you need to make that layer into the base of what Photoshop users call a "clipping group". In a clipping group, all the layers and adjustments in the group are composited using the full image area but are then cut to shape using the bottom layer's opacity ("alpha channel"). Thus the horrible fringing effects are eliminated. The effect is like gluing many layers of fabric together and then cutting out the shape you want instead of having to cut multiple pieces of fabric to exactly the same shape and trying to align the edges perfectly. In Krita, you make a clipping group by creating a group, putting layers into it and turning on the "Inherit Alpha" feature for all but the bottommost layer, which defines the shape. The icon for "inherit" alpha is a little Greek alpha with a line struck through it. In regard to your postscripts: The gradient tool defaults in Linear mode, where the start and end points of a mouse drag defines the line along which the gradient goes from start to finish. Some gradients utilise the currently selected foreground and background colours, some use fixed colours and some use transparency. In the docker, you will find other shapes of gradients. The Magic Wand is like a flood fill tool that does not paint anything but instead makes a selection indicating where a flood fill would paint. For anti-aliased images, operations on the same spot make a terrible mess, though. Every paint layer has its intrinsic transparency mask ("alpha channel") which allows it to fill less than the entire image. You can't see it normally, but you can choose to split it into a separate transparency mask you can see as you paint levels of grey into it (if it is "isolated" for viewing). Black means transparent and white means opaque. You can combine it back into the parent layer when you're finished. Sometimes you want one or more transparency layers so you can suppress or cut out bits of paint layers without permanently deleting anything. A filter layer is a layer which had no image of its own but instead modifies the appearance of the combined layers below it in the same group. A common kind of filter layer in Krita is the analogue of a Photoshop "adjustment layer". Filter layers are most useful when confined in clipping groups. Colour matching is a real pain so I like to draw the bodies of my video game sprites in greyscale, put them in a clipping group, then have a filter layer in that group which colourises the grey scale sprites in any manner I see fit (Hue/Saturation, Levels or Curves for each channel in RGB, say). |

Registered Member
|
Hi Shinorin,
I think you are using conical gradient type , you can change it to radial type in the tool option docker when you have gradient tool active. |


Page 1 of 1 (3 posts)
Bookmarks
Who is online
Registered users: Bing [Bot], Google [Bot], Sogou [Bot], Yahoo [Bot]


