Single color channel saturation
Page 1 of 1 (11 posts)
Tags:
None
|
Registered Member 
|
Is it possible to saturate or desaturate a single color channel (green, red, blue)? There are many instruments, but no one so easy to use...
|
|
Registered Member 
|
I have the same question: sometimes i need to justdesaturarte red for example. is there a way to do that easily? with the bezier curves maybe?
|
|
Registered Member 
|
Unless others can suggest a superior way, the easiest, direct method I could come up with is using the 'Key Spill Mop-Up' effect as a chroma 'qualifier' (key).
Example: Original frame: The objective was to isolate and desaturate the red colored objects:- http://imgur.com/a/K0b5O Step 1. Isolating the color to be desaturated: http://imgur.com/a/eHXRa Apply the 'Key Spill Mop-Up' effect Make sure the Mask Type is set for 'Color Distance' and the Operation for 'Target' Use the color picker (dropper) or palette to select the Key Color - i.e. the color that you want to isolate. Here I used the palette to choose pure red RGB 255,0,0 Choose a Target Color that will make it stand out when creating the chroma mask. Here I chose a fluorescent green. Then you are going to use the Tolerance, Slope, Hue Gate and Saturation Threshold controls to shape the mask. I'd suggest starting with the Tolerance and Hue Gate first. These controls together define the range of hues around the chosen Key color that will be included. Hue Gate is the most critical component. Set that first and then further tune with Tolerance. Edit: Before adjusting Hue Gate and Tolerance, I'd suggest setting the Saturation Threshold to zero and Slope to max to avoid limiting the hue range. Then adjust the Saturation Threshold to further refine the selection based on Saturation level. And likewise the Slope, which appears to be keying on brightness. Then it's really just a question of finely adjusting each until you get the best possible isolation. You can also toggle 'Show Mask' to view the created mask as white on black. http://imgur.com/a/amgVv Step 2. Desaturation Simply change the Operation type to 'Desaturate' and adjust the degree of desaturation with the Amount slider. In this example I set it to max 1000. http://imgur.com/a/exZgn And that's about it. You are never going to get perfect color isolation unless the object has a distinct and uniform color. Isolating skin tones is probably the most difficult. But it's basically the same principle as used in advanced color grading software for color qualification. Usually though there additional options for multiple sampling and fine tuning the 'softness' (roll-off) of the Hue, Saturation and Lightness qualifier ranges. You could try and do the same the Bezier HSL curves set, but I think it would be rather tricky. Obviously this method could also be used for changing the color of an object. As for increasing the saturation level of an isolated color. That would probably require adjusting the saturation through a layer mask, but you could certainly create the alpha mask using this method. I'll have a look at that when I have a bit more time. Anyhow I hope that's useful.
Last edited by Inapickle on Tue Jan 24, 2017 6:51 pm, edited 6 times in total.
|
|
Registered Member 
|
It's possible with bezier curves, there is saturation option but there is not a background image to help the job 
|
|
Registered Member 
|
OK, well this is what I came up with: 1. Duplicate (copy), stack and align your clip on the timeline - Video tracks #1 and #2. Video track #1 will be the background - disable it for now. 2. Apply the Key Spill Mop-up effect to the clip on Video track #2 and create the chroma mask as described above (Step 1 only). 3. Change 'Operation 1' to 'None' and check the 'Mask to Alpha' box. Make sure 'Show Mask' is deselected for now. 4. Apply Saturation effect to the clip. 5. Enable the clip on Video track #1 6. Apply Composite transition between the two video tracks. Leave at (default) Auto and set Opacity at 100% for now. 7. Now you can adjust the saturation level of the isolated colour (defined by the chroma mask) in two ways: a) Leave the Composite blend opacity at 100% at adjust the saturation level with the Saturation effect slider, or b) Set the Saturation effect at max level (1000) and adjust the saturation level with the Composite blend Opacity control. Here's a couple of screen shots to illustrate the set-up: http://imgur.com/RWzfhW8 http://imgur.com/rQvsPaa To magnify, move the + cursor over the image and left click. With the Composite blend set at 100% opacity you can easily go back in and view/tweak the chroma mask by selecting 'Show Mask' and if you want to view just the B&W mask, deselect 'Mask to Alpha' - example: http://imgur.com/X2Qx6UW http://imgur.com/6gDrNRY Anyhow, if anyone experienced with masks can suggest a more refined/simpler way of doing it, please do. The chroma mask probably could have been tweaked a bit better, but it's OK for showing the basic technique. Actually, thinking about the original post:
If I've misinterpreted what was being asked - there is a way to adjust the saturation ( kind of ) of the primary and secondary colours using the CMYK Adjust (avfilter) effect. So you would select 'Colour Range: Reds' and use the Cyan slider (being the complementary colour) to adjust the Reds. Likewise selecting 'Color Range: Greens', you'd use Magenta to adjust the Greens and for 'Color Range: Blues' you'd use Yellow. And then for adjusting Cyan, Magenta or Yellow you would select the respective 'Colour Range' and adjust those secondary colours directly. Really though Hue-Saturation-Lightness (HSL) or Hue-Saturation-Intensity (HSI) are the better color models for adjusting saturation of the Primary/Secondary colour channels. And I just don't see how you could do that with the separate Hue and Saturation Bezier curves. To do it with curves what you really need is a Hue vs Saturation curve. DaVinci Resolve has that, along with Hue vs Luma and Saturation vs Luma. I think the method I described works pretty well though. It is effectively an HSL qualifier mask. That's the best I can suggest. |
|
Registered Member 
|
For example: http://imgur.com/Ic6j62A Or a 'tighter' desaturation of reds using the 'Key Spill Mop-Up' method I described in my first post: http://imgur.com/iy8xxVA |
|
Registered Member 
|
Sorry but i can't find CMYK Adjust (avfilter) in my kdenlive 16.12.1
I'm using italian translated version |
|
Registered Member 
|
errata corrige:
CMYK Adjust (avfilter) is in appimage version but not in ppa (ubuntu 16.04) version. |
|
Registered Member 
|
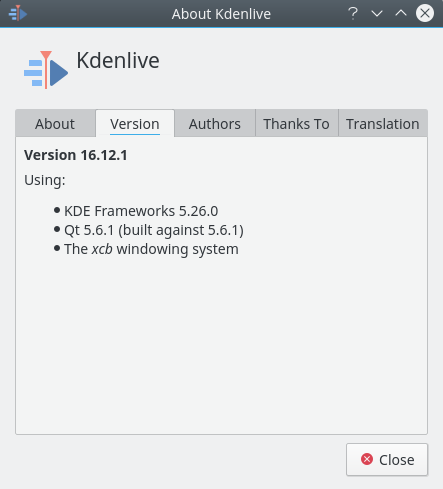
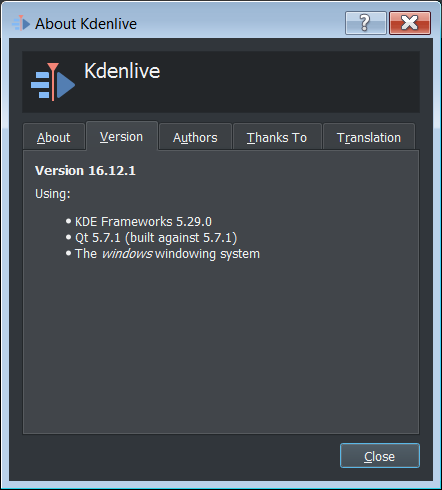
I'm currently running KDenLive 16.12.1 from ppa:kdenlive/kdenlive-testing on Kubuntu 16.10.1 AMD64, and also testing out the newly released Windows port of 16.12.1 on Windows7 x64. The CMYK Adjust effect is there in both versions.
|
|
Registered Member 
|
|
|
Registered Member 
|
All I can say is that the CMYK Adjust effect is listed under Color Correction (as per your right side image) in both versions I have installed:
 
|
Page 1 of 1 (11 posts)
Bookmarks
Who is online
Registered users: Bing [Bot], Google [Bot], kde-naveen, Sogou [Bot], Yahoo [Bot]


